How To Stitch A Saree Blouse Definition
Source:- Google.com.pkLearn to stitch the indian sari blouse used for sari costume. The method to stitch a blouse is very easy.
The pattern is useful in stitching a cut blouse.
Lets use a readymade measurement to stitch the blouse (refer above diagram). I have used measurements in centimeter, You can do it with inch measurement.
* chest = 91 cm
* full length = 38 cm
* Across back = 35 cm
* sleeve length = 25 cm
FRONT PART
* A - B = full length = 38 cm
* A-C = arm hole = (chest/4)-4 = (91-4)/4 = 18.7 cm
* C-D = chest loose = (chest/4)+2.5 = (91/4)+2.5 = 25.2 cm
* A-I = front part = chest/3 = 91/3 = 30.3cm
* A-E = shoulder = AB/2 = 35/2 = 17.5 cm
* A-F = Neck Breadth = (chest/12)+1.5 = 9 cm
* A-H = Front Neck = chest/8 = 11.3 cm
* K-B = patti part = full length-front part=7.7 cm
PATTI PART (K-B part in the above diagram)
* A-C = full length = 11 cm
* A-B = patti width
SLEEVE PART
* A-B = sleeve length = (chest/4)+2.5
* A-C = sleeve width = (chest/4)+2.5
* E-D = (chest/4-4)
Now let's see how to stitch the sari blouse. Before going to stitch the real material , we'll draw the stitching pattern. I have used chart paper to draw the stitching pattern. If u want to stitch a blouse of your size, take a sample blouse you already have and take the measurements using inch tape. It is nessesary to draw stitching patterns for both front and back side .
Then 2 small darts have to stitched at the back part straight to the shoulders.
Then the main three darts have to be stitched carefully in the front part. Look at the stitching pattern diagram above for the three main darts. The dart stitched at the bottom should be bigger that the 2 darts at the left and right sides. Darts at the back part and front part are stitched.
Next to the front part , the patti part has to be stitched. After stitching the three main dots , the front part has to be stitched to the patti part. The patti part should have the remaining length so that it equals the back part.
Now the patti part is stitched to the main part. See to that both back and front parts are of same length. Then make sure you fold around the bottom line.
Next the front parts have to be joined to the back part. Just do that by stitching the shoulders correctly.
Next sleeve part is cut and attached to the arm. There are 2 options to stitch sleeve, you can join the sides then stitch the sleeve else you can stitch the sleeve and then join the sides. It depends on your comfort level. To cut the sleeve use ur model blouse for size. Just fold the cloth once and place the model sleeve on it, then draw the shape and cut it.
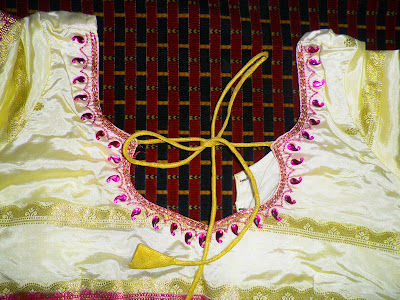
After the sleeve part is stitched, the neck crosspeice has to be stitched and then hooks have to be stitched. Finally we finish the complete blouse like this. Try and send your feedback.
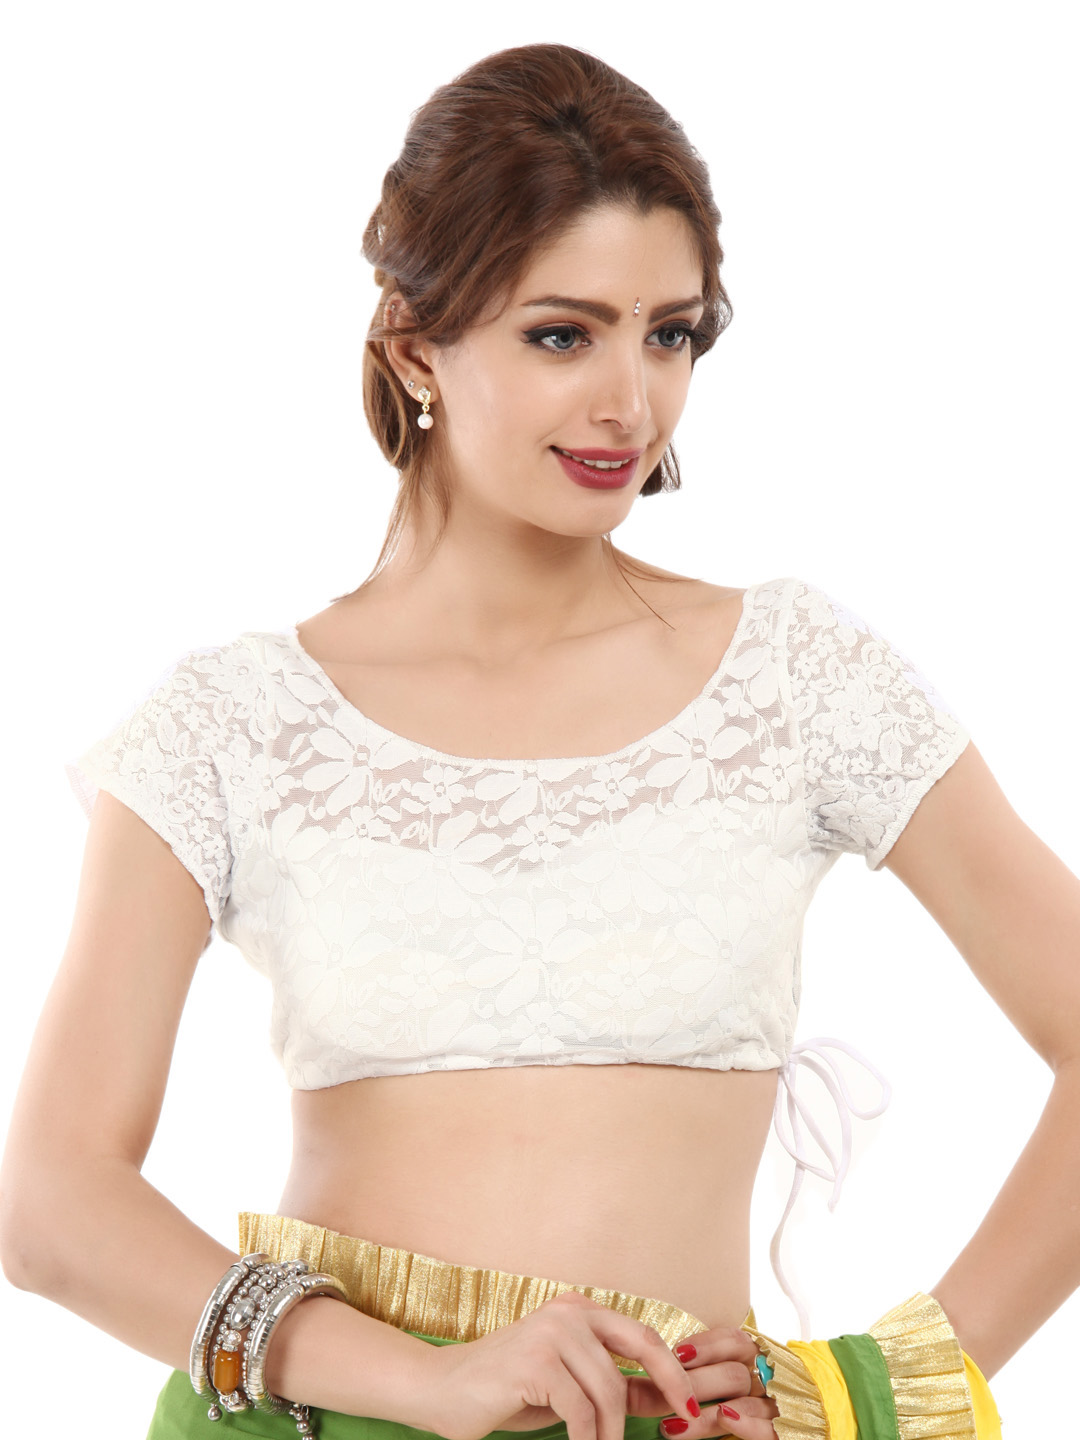
How To Stitch A Saree Blouse Pictures Photos Pics Images

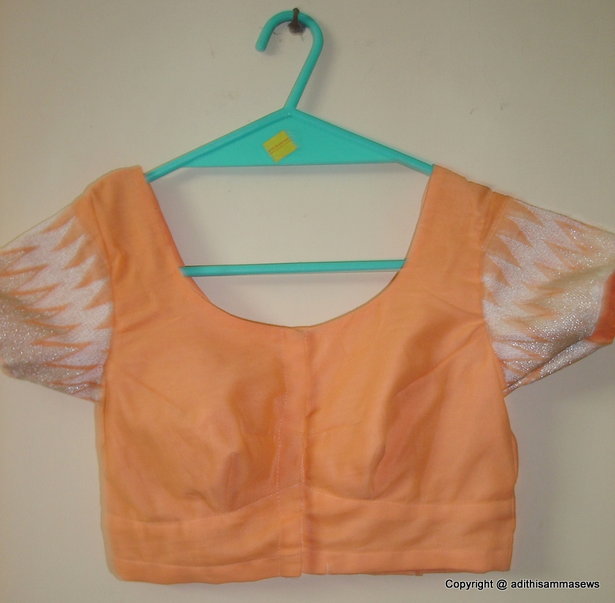
How To Stitch A Saree Blouse Pictures Photos Pics Images

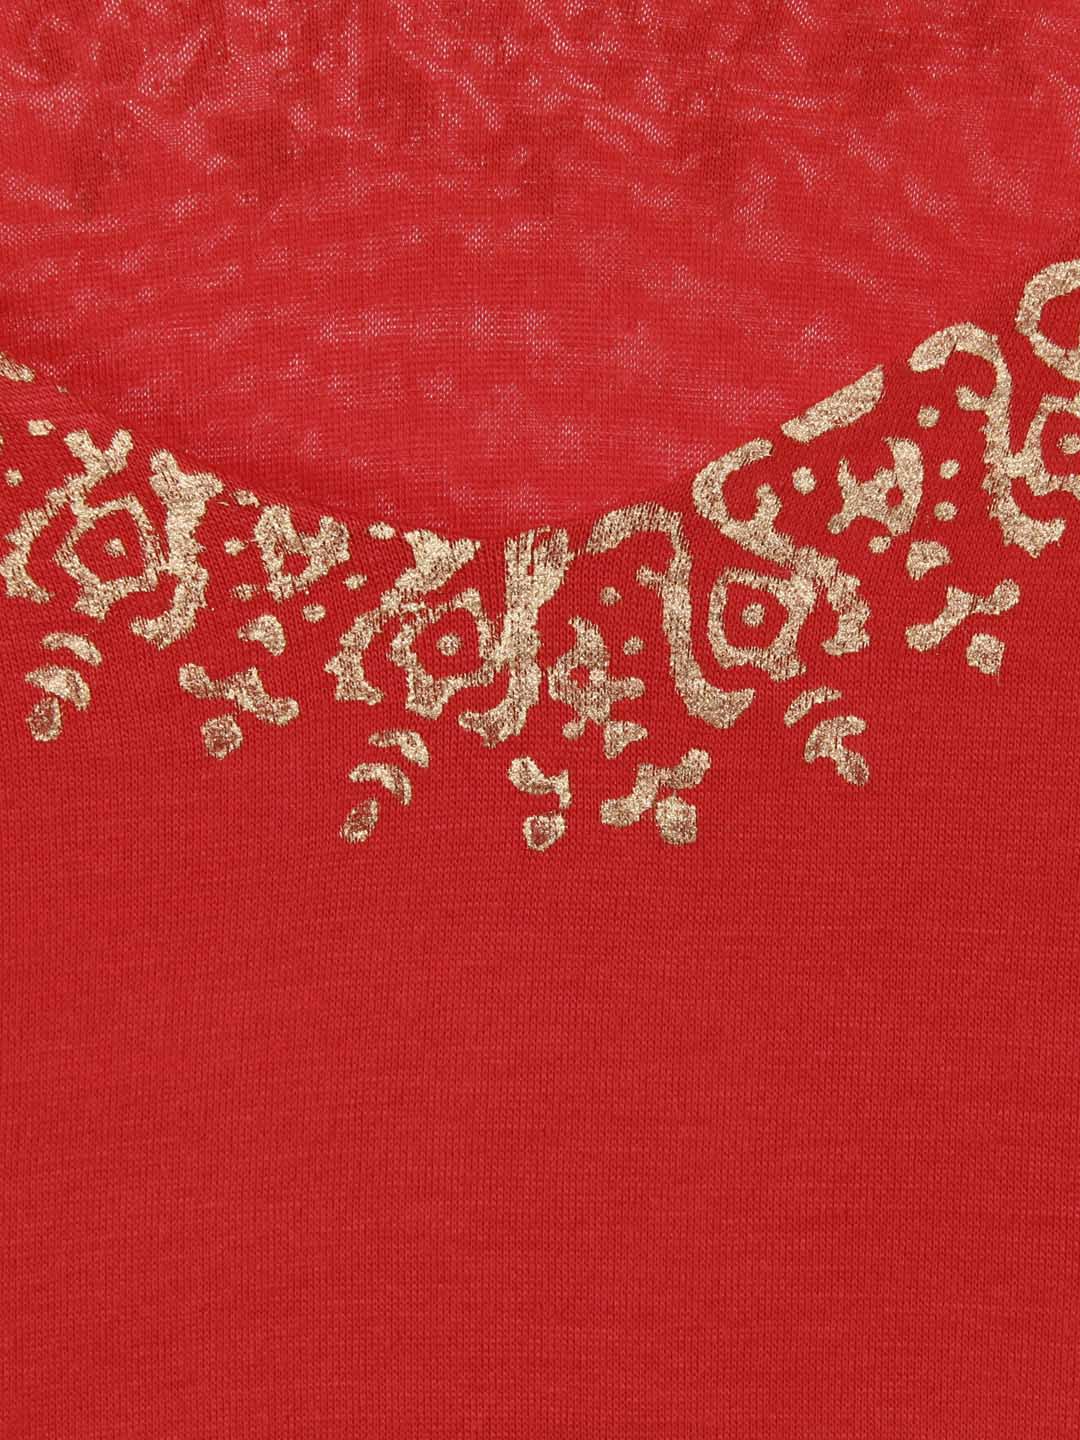
How To Stitch A Saree Blouse Pictures Photos Pics Images

How To Stitch A Saree Blouse Pictures Photos Pics Images

How To Stitch A Saree Blouse Pictures Photos Pics Images

How To Stitch A Saree Blouse Pictures Photos Pics Images

How To Stitch A Saree Blouse Pictures Photos Pics Images

How To Stitch A Saree Blouse Pictures Photos Pics Images

How To Stitch A Saree Blouse Pictures Photos Pics Images

How To Stitch A Saree Blouse Pictures Photos Pics Images
How To Stitch A Saree Blouse Pictures Photos Pics Images
How To Stitch A Saree Blouse Pictures Photos Pics Images

How To Stitch A Saree Blouse Pictures Photos Pics Images

How To Stitch A Saree Blouse Pictures Photos Pics Images
How To Stitch A Saree Blouse Pictures Photos Pics Images
How To Stitch A Saree Blouse Pictures Photos Pics Images
How To Stitch A Saree Blouse Pictures Photos Pics Images
No comments:
Post a Comment